
STEP 01
Name the place and the colours
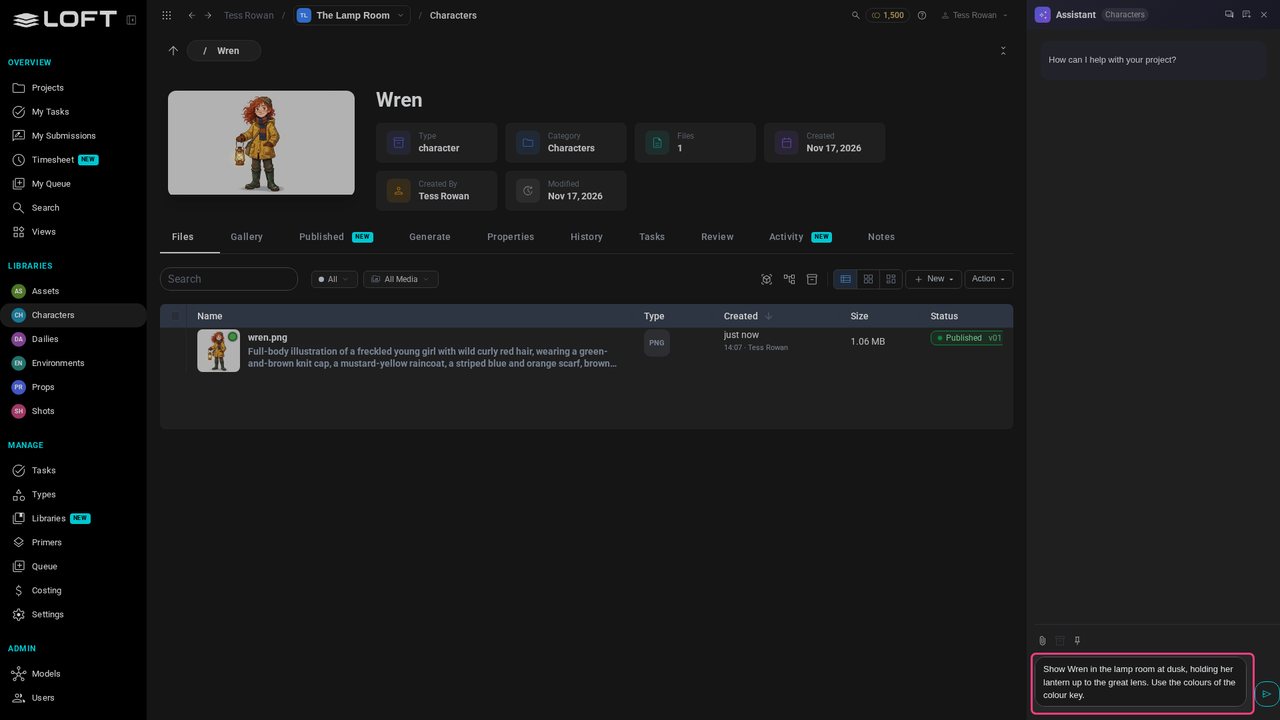
On Wren's page, open the Assistant and say where she is and how it should look. Name the things you brought in: the lamp room, the colour key.
Learn/Get started
Put your character in a place, in the colours you want, by naming them. Then correct the result in a sentence, and write down the rules of your project once so you don't repeat them.
Follow along
On Wren's page, open the Assistant and say where she is and how it should look. Name the things you brought in: the lamp room, the colour key.
Press Enter. The Assistant looks up what you named: The Lamp Room's design for the setting, Wren's design for Wren, and the colour key for the palette only. Its reply says which image it used for what.
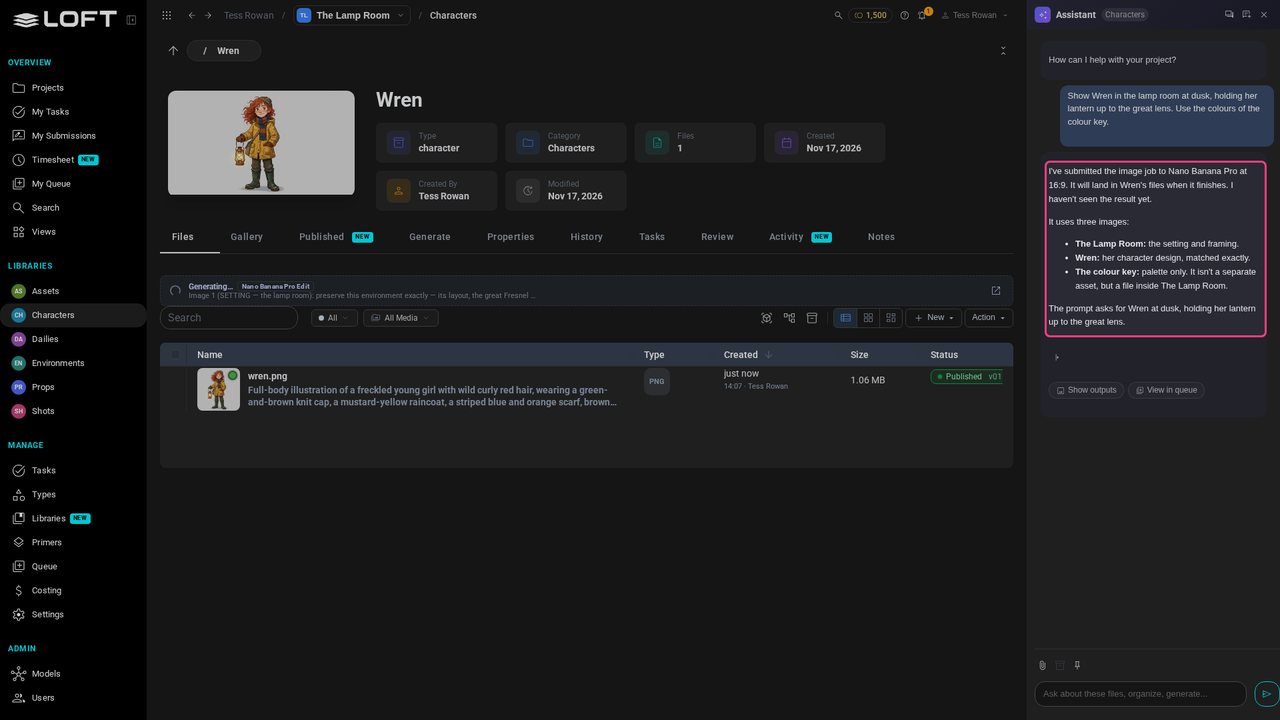
The new image lands in Wren's files. Yours will look different from this one.
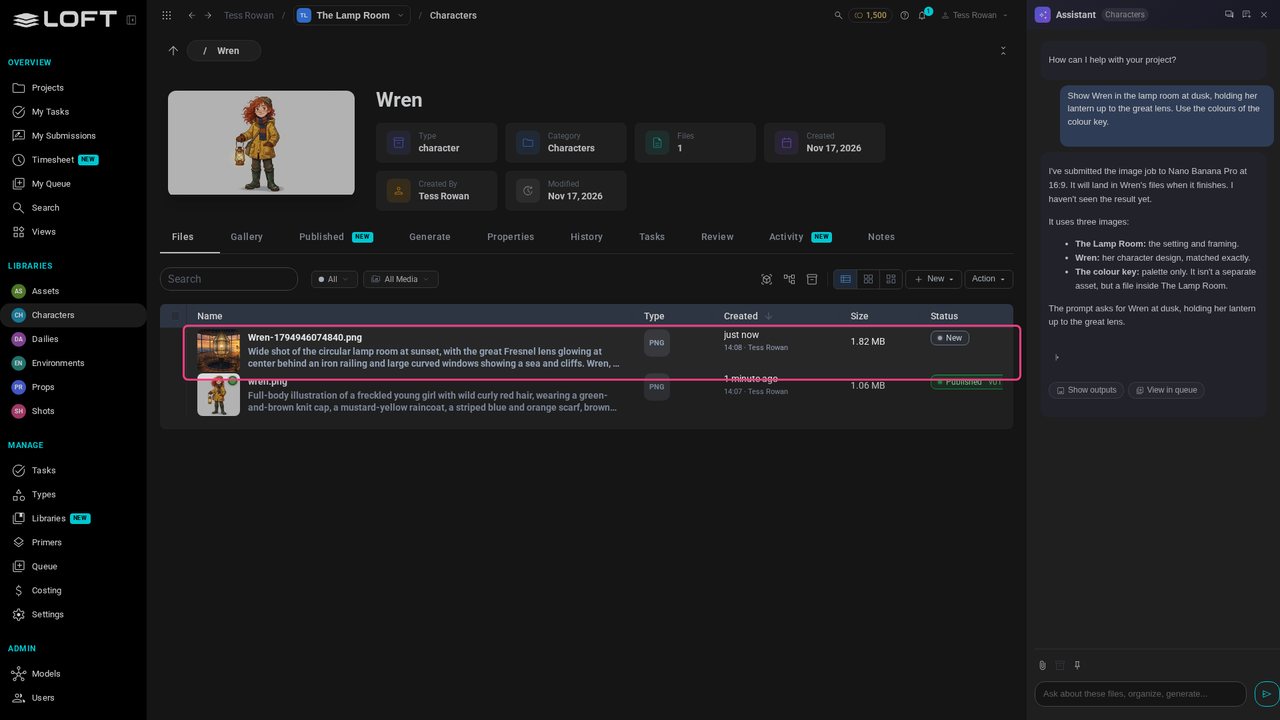
Not quite? Say what to change, the way you'd give a note: Closer: from the waist up, with the lantern light warm on her face. The Assistant works from the last image, so you only say the difference.
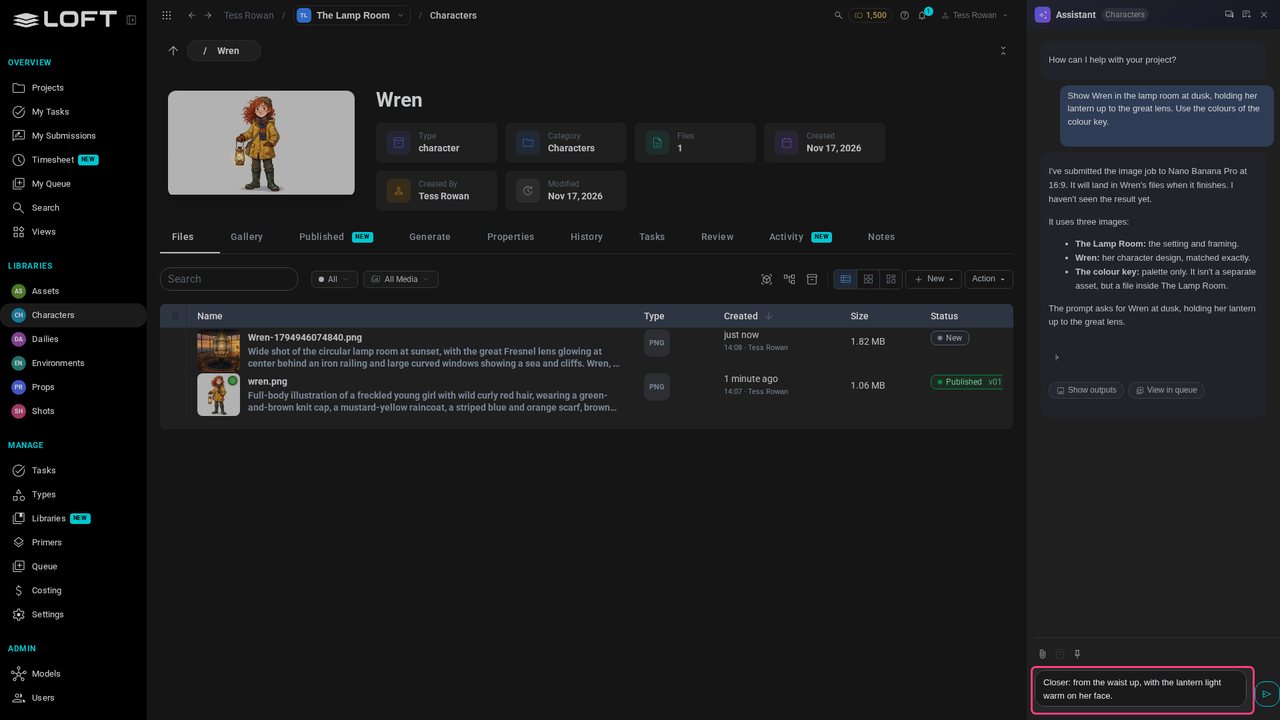
Press Enter. The corrected image lands as another take; the first one stays, so you can compare.
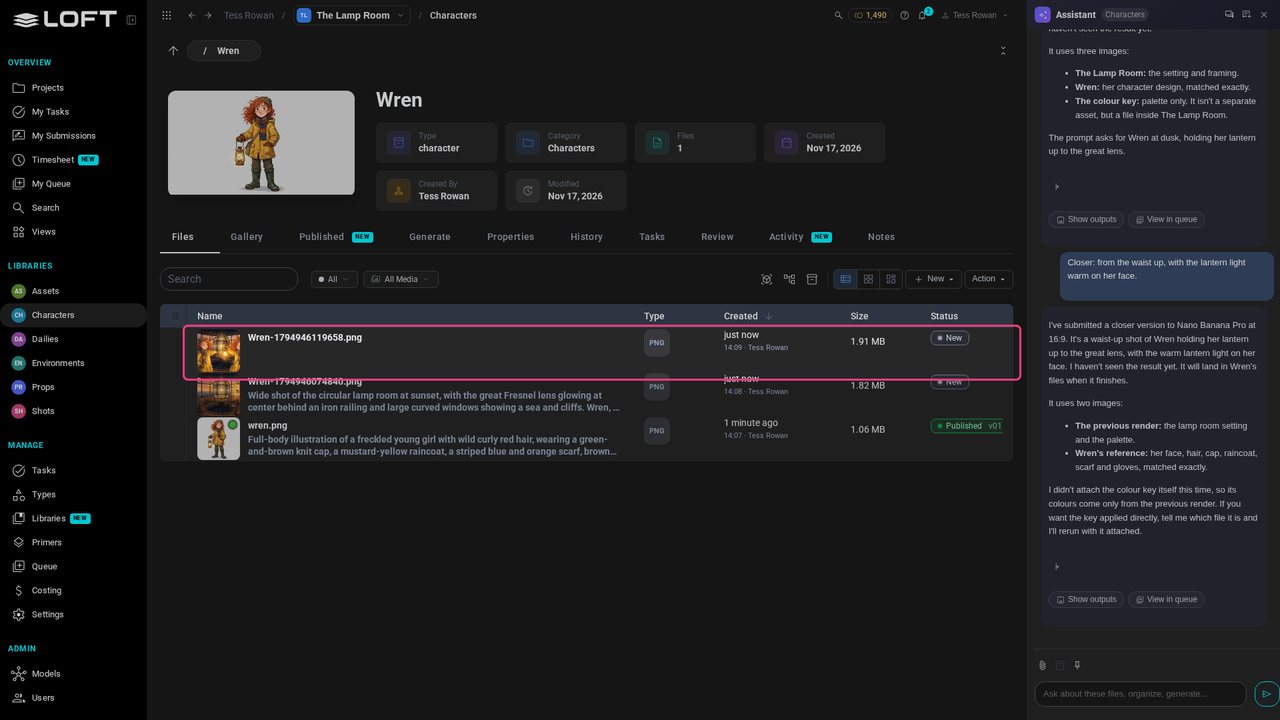
Close the Assistant, open the new take and press 2 to mark it Selected.
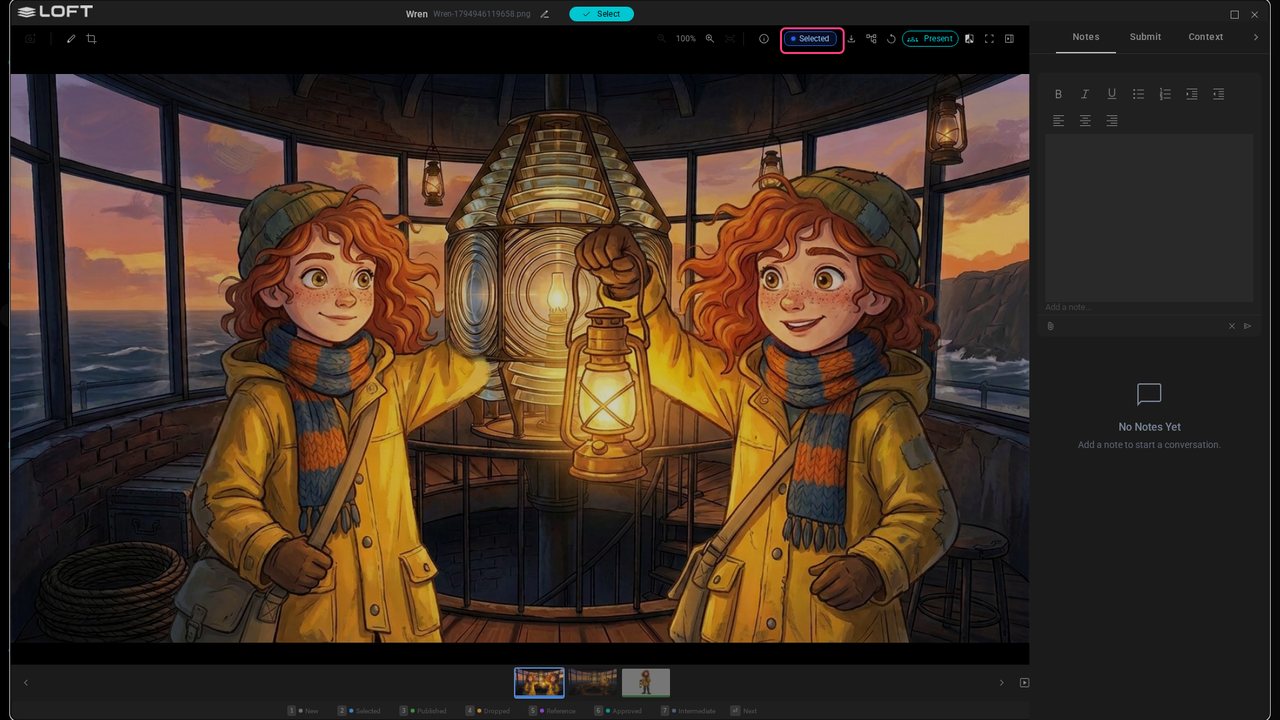
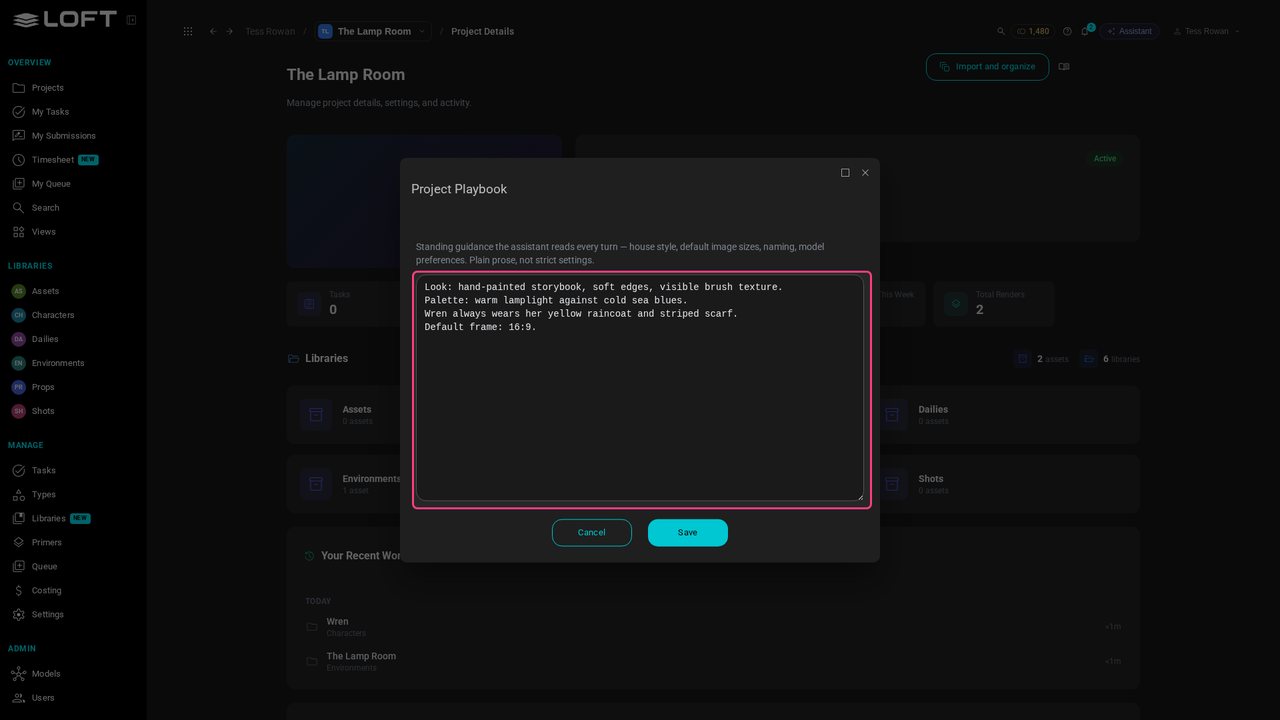
Some things should hold for every image: the look, the colours, what never changes. Close the viewer, open the Assistant and tell it to remember them for the whole project.
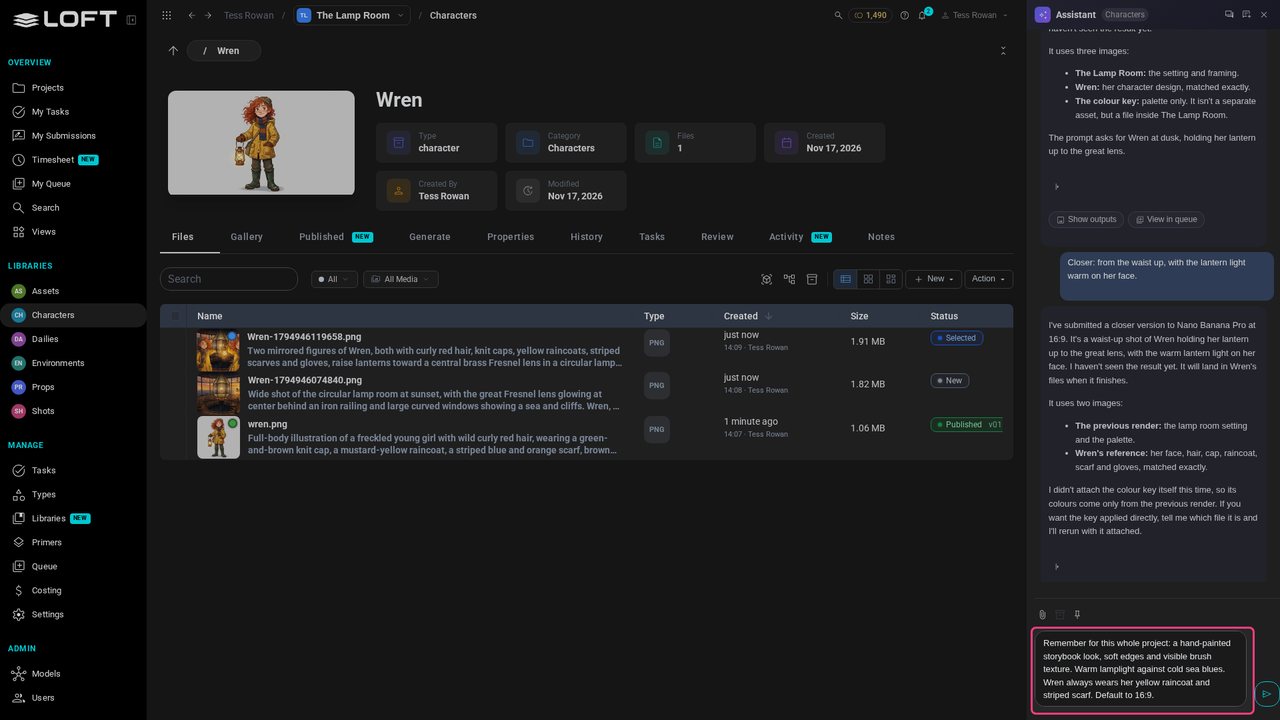
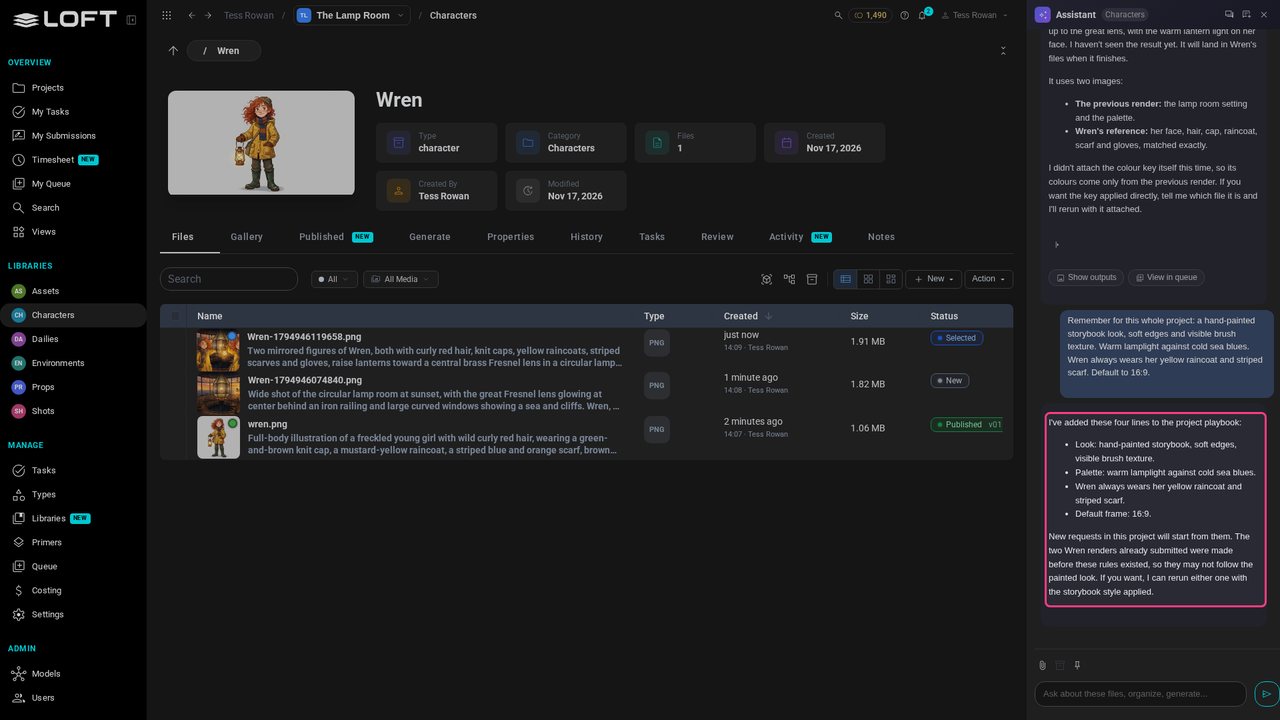
Press Enter. The Assistant writes them into the project's playbook, and quotes what it saved. From now on, every request in this project starts from them.
Close the Assistant and go to the project's page. The book icon at the top is the Project Playbook: there are your rules. You can edit them here too.
Up next in Get started
The Assistant chooses the model, the images and the settings for you. The Generate tab is the same thing with every choice yours: here's how to use it.
In the playlists Get started.